 by
by There’s no single, right way to set up a circuit class. One standard template method alternates between strength and cardio exercises. Beginning exercisers, however, may find this format to be too challenging, especially in relation to their cardiorespiratory fitness level.
Here are some additional considerations for designing circuits for beginning exercisers:
-Fitness level
-Ability to complete each exercise
-Self-efficacy
-Appropriate recovery
The following strength and cardio circuit was inspired by the UCLA template: Upper, Core, Lower, All. The first three categories focus on strength, while the “All” portion focuses on cardio exercises. You can use this template to create any style of cardio- or strength-based circuit courses. The exercises provided were strategically placed to either alternate opposing muscle groups, planes of motion or body parts. This allows certain muscle groups to recover and to avoid fatigue. While the program presented is for beginners, you can progress the exercises as needed.
A 2:1 work-to-rest ratio works well for these circuits. Select times based on your class length and participants’ fitness levels and don’t forget to include appropriate warm-up and cool-down periods. After completing the entire round, signal a water break to allow participants to recover for at least one minute.
UCLA Circuit
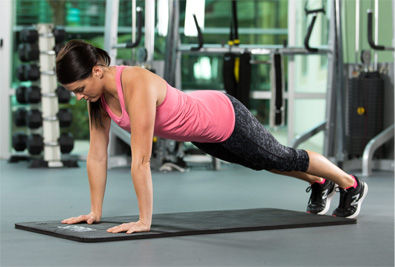
Upper: Elevated Push-ups

Elevate a Smith machine bar (or find an elevated surface) to the appropriate height. Cue clients to position hands wider than shoulder-width apart and perform push-ups with elbows bending to 90 degrees.
Progression: Lower the bar.
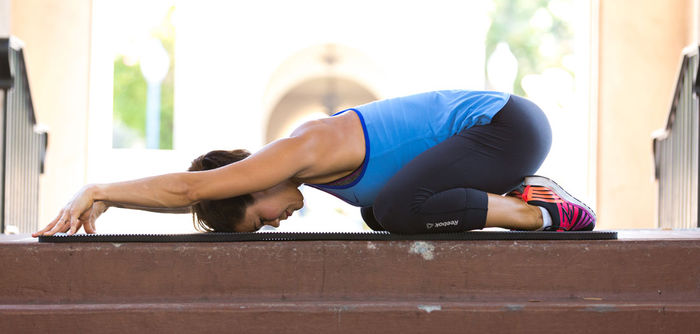
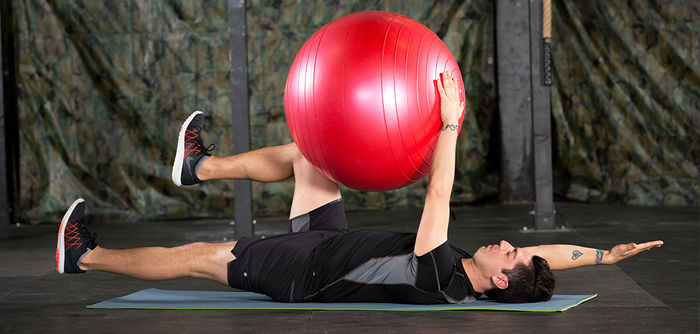
Core: Moving Hip Bridge
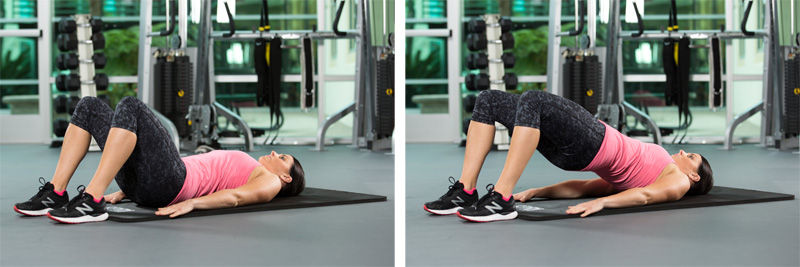
Have clients lie on the floor with knees bent and feet hip-distance apart. Rest the arms along the sides of the body with the palms facing the floor. Lift the hips upward to feel the contraction into the hamstrings, glutes and lower back. Hold for about three seconds and slowly release the hips back to the floor.
Progression: Place feet on a BOSU or stability ball.
Lower: Squats
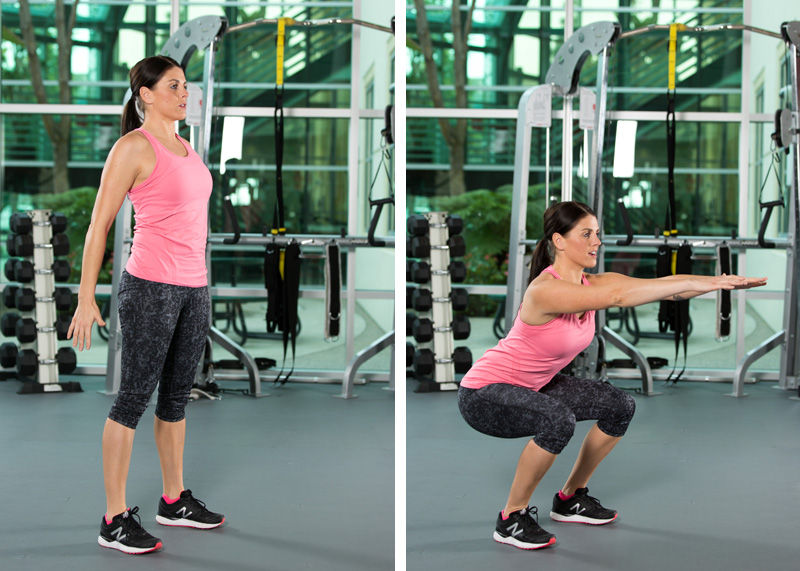
Have clients stand tall with feet hip- to shoulder-distance apart. Raise arms to shoulder height in front of the body. Lower the hips into a squat position, bringing the thighs as close to parallel with the floor as possible. Return to standing tall and repeat.
Progression: Add load to the exercise.
All: Jumping Jacks
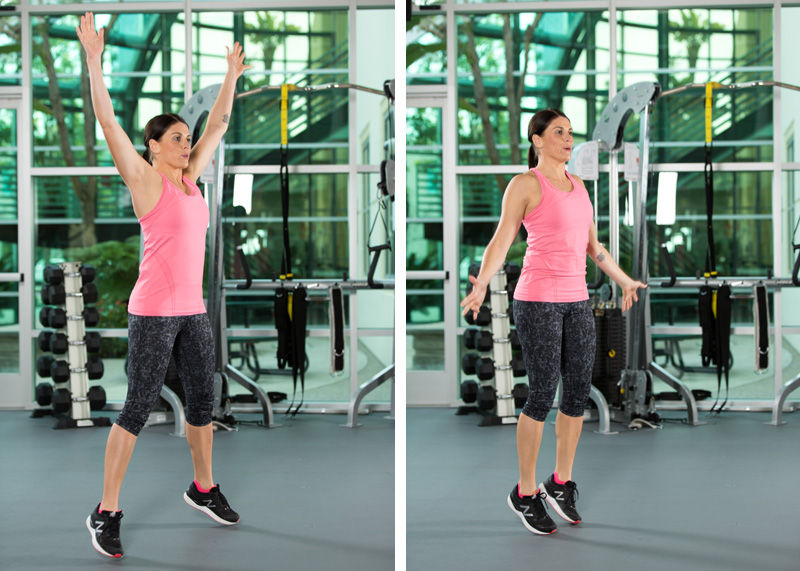
Have clients perform standard jumping jacks for the designated time period.
Upper: Elevated Body-weight Rows
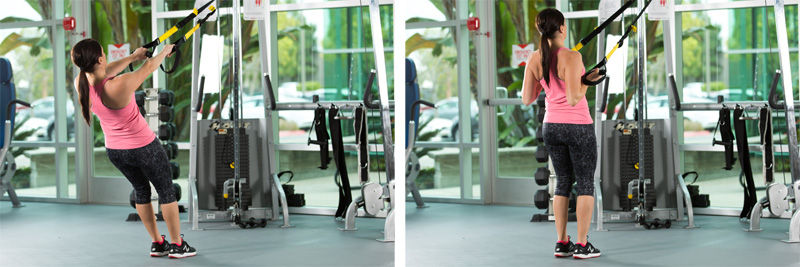
Elevate a Smith machine bar (or find an elevated surface) to the appropriate height. Cue clients to place their hands palms-up and shoulder-width apart on the bar; elbows should be near the sides of the body. Position the feet forward and shoulder-distance apart. Row the body toward the bar and return to the starting position.
Progression: Lower the bar or use a TRX Suspension Trainer.
Core: Plank
Assume an all-fours position with the hands shoulder-width apart and the knees hip-distance apart. Extend the legs and place weight on the balls of the feet. Keep the core braced and breathe deeply. To aide the plank, keep the feet hip-distance apart.
Progression: Drive alternating knees toward the chest.
Lower: Reverse Lunges
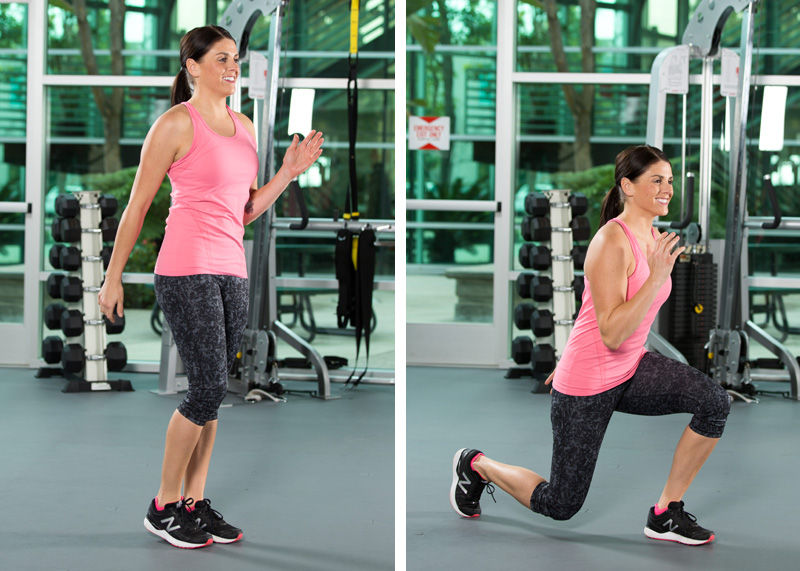
Position the body upright with feet hip-distance apart. Step the right leg back into a lunge position and return the leg to center. Next, step the left leg behind into a lunge position and return the leg to center. Continue alternating legs.
Progression: Add an external load such as dumbbells.
All: Lateral Skis
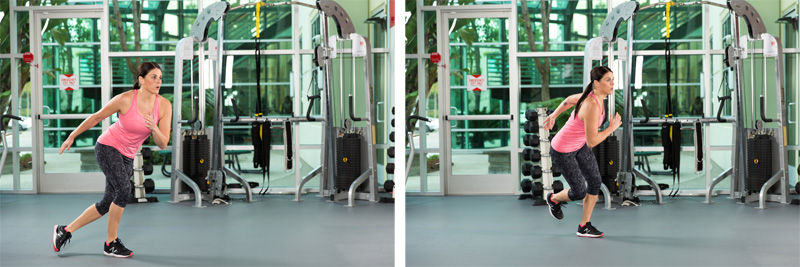
From a standing position, hop to the right with the right leg and let the left leg follow, stepping behind. Next, hop to the left with the left leg and let the right leg follow, stepping behind. Continue the side-to-side motion for the designated time period.


 by
by